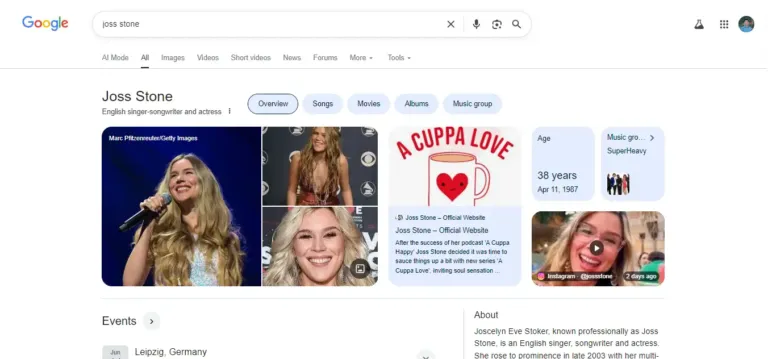
For the past few weeks, we’ve discussed the power of the Knowledge Graph and why every leader needs a panel. But there is a huge difference between having a panel and owning it.
When Google’s algorithm automatically generates a panel for you, it is essentially a “public draft.” Google is pulling information from across the web and presenting it to the public. However, until you claim that panel, you are just a passenger in your own brand’s vehicle.
I’m Anup Sarker, and in this guide, I will show you how to move into the driver’s seat. Verifying your panel gives you the “Official Representative” status, allowing you to suggest edits, choose your featured images, and ensure that the world sees the most accurate version of your story.
1. Why Verification is Non-Negotiable
Before we get to the “how,” let’s talk about the “why.” You might think, “If the information is already correct, why bother verifying?” As an SEO specialist, I recommend verification for three critical reasons:
- Control Over Imagery: You can suggest which photo should be your primary profile picture. Without verification, Google might pick a random, low-quality image from an old social media post.
- Accuracy and Updates: If you change your job title, win an award, or move your headquarters, you need the ability to tell Google immediately. Verified users get priority when suggesting these changes.
- Security: Verification prevents “Brand Hijacking.” It ensures that a random stranger can’t claim to be your representative and suggest malicious changes to your profile.
2. Step 1: Locate the “Claim” Button
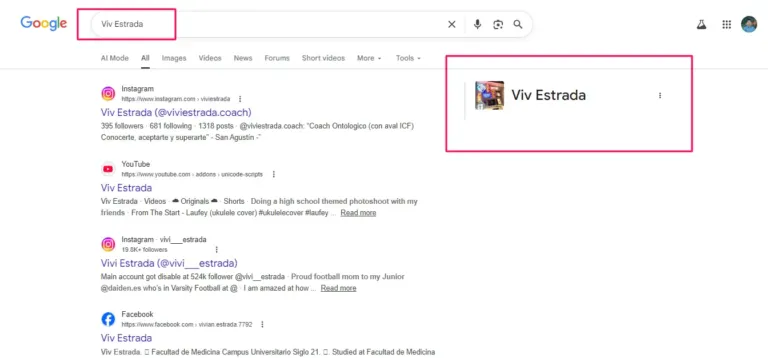
The journey begins with a simple search. Go to Google and search for your name or your brand name. Look at the Knowledge Panel on the right side.
At the very bottom of the panel, look for a small link that says: “Claim this knowledge panel” or “Are you the official representative? Claim this panel.”
Anup’s Troubleshooting Tip: If you don’t see this button, it usually means one of two things:
- The panel has already been claimed by someone else (perhaps a former employee or an agency).
- Google hasn’t yet provided the “claim” feature for this specific entity (this is common for very new or low-confidence panels).
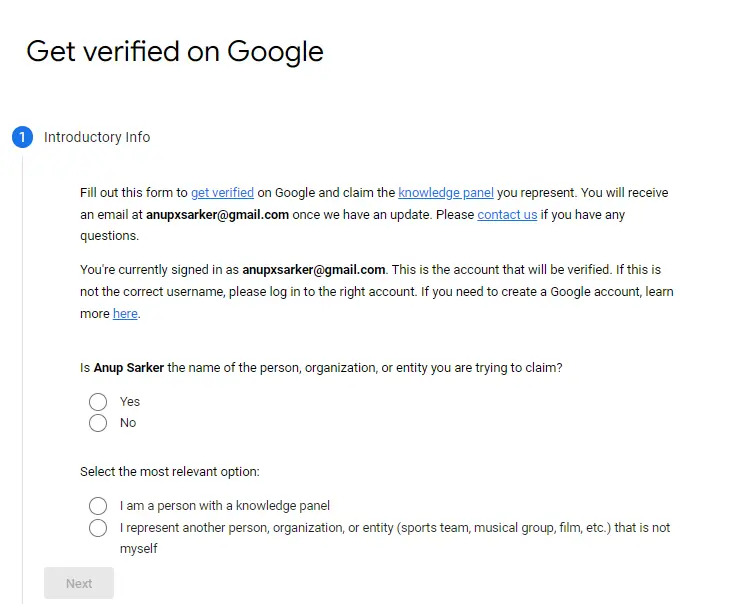
3. Step 2: Signing in and Initial Setup
Once you click the claim button, Google will ask you to sign in to a Google Account.
Critical Advice: Always use a Google account that is already associated with your professional presence. Ideally, this should be the same account you use for Google Search Console or the one linked to your official YouTube channel. This significantly increases the “Trust Score” of your application.
4. Step 3: The Verification Methods
Google offers several ways to prove you are who you say you are. Depending on your digital footprint, you will see one or more of the following options:
Method A: Google Search Console (The Fastest Way)
If you own the domain for your official website (e.g., I own anupsarker.com) and it is already verified in Google Search Console, this is your “Golden Ticket.”
- Google will see the connection between the website (The Entity Home) and the Knowledge Panel.
- In many cases, if you are signed into the same account, the verification is instant.
Method B: Social Media Profiles
Google may ask you to sign in to one of the social media accounts currently linked to the panel (e.g., X/Twitter, YouTube, or LinkedIn).
- By “handshaking” your social account with the Google verification portal, you prove that you have control over the entity’s official channels.
Method C: Documentation (The “Manual” Path)
If Method A and B are unavailable, you will have to go through a manual review. This is where most people get stuck, and where my technical expertise usually comes in. Google will ask for:
- Government ID: A photo of your passport or driver’s license to verify your name.
- Selfie with ID: To prove you are the person in the ID.
- Proof of Relationship: If you are claiming a panel for a business, you may need to show legal documents or screenshots of you logged into the brand’s official accounts.
5. Step 4: The Waiting Game
After you submit your request, Google’s “manual review” team takes over. This can take anywhere from 24 hours to 7 days.
During this time, Google is checking the consistency of your data. They are looking to see if the person in the ID matches the person in the Knowledge Graph. This is why I always tell my clients to make sure their “Digital Footprint” is clean before we hit the claim button. If your Wikipedia page says you’re 40 but your ID says you’re 35, Google will likely reject your claim.
6. What to Do Once You Are Verified
Congratulations! You are now the “Official Representative” of your entity. When you search for yourself now, you will see a new option at the top of the search results: “Suggest Edits.“
Here is what you should do immediately:
- Update Your Featured Image: Suggest a high-resolution, professional headshot.
- Add/Fix Social Links: Ensure all your social icons are present and correct.
- Review the Biography: If the snippet from Wikipedia is outdated, you can suggest a more current source or provide a direct edit.
- Check the “People Also Search For” section: While you can’t directly change this, you can influence it by strengthening your associations with other industry leaders.
7. Common Verification Roadblocks and How to Fix Them
Working in SEO since 2019, I’ve seen every possible error message. Here are the most common ones:
- “This panel has already been claimed.”
- The Fix: You need to follow Google’s “Transfer of Ownership” process. If you can’t reach the original owner, you will have to provide legal proof to Google that you are the rightful owner.
- “Verification Failed: Insufficient Evidence.”
- The Fix: This usually happens because your online presence is too “thin.” You need to build more authority—more news mentions, a stronger LinkedIn profile, and better Schema Markup on your website—before trying again.
- “The Claim Button is missing.”
- The Fix: This usually means Google’s algorithm hasn’t “solidified” your entity yet. You need to increase your Entity Confidence Score by seeding your data in more authoritative databases like Wikidata or Crunchbase.
8. Conclusion: Ownership is Just the Beginning
Claiming your Google Knowledge Panel is a major milestone in your personal branding journey, but it isn’t the finish line. Think of it as owning a garden; once you have the deed, you still have to water the plants and pull the weeds.
By verifying your panel, you ensure that when someone searches for you, they get the truth—straight from the source. You turn a random box of data into a powerful, controlled marketing tool.
Do You Need Help Navigating the Verification Process?
While the steps above seem straightforward, the reality is often messy. Google’s support for Knowledge Panels is notoriously difficult to reach, and a single mistake in your documentation can lead to a permanent “rejection” flag on your entity.
If you don’t want to risk your digital reputation, let me handle it. I’ve successfully verified panels for CEOs, authors, and international brands who were previously told it was “impossible.” From gathering the right documentation to fixing conflicting data, I ensure the process is smooth and successful.
👉 Start Your Verification Journey with Anup Sarker Today